UPDATE 4/11/2023: I wrote this blog post 8 years ago. Do not follow the advice here. I have learned SO MUCH since then. If you want advice for making art prints from your paintings, join my discord server and ask me directly as my recommendation may change depending on your needs and what my current knowledge of the printing options are.
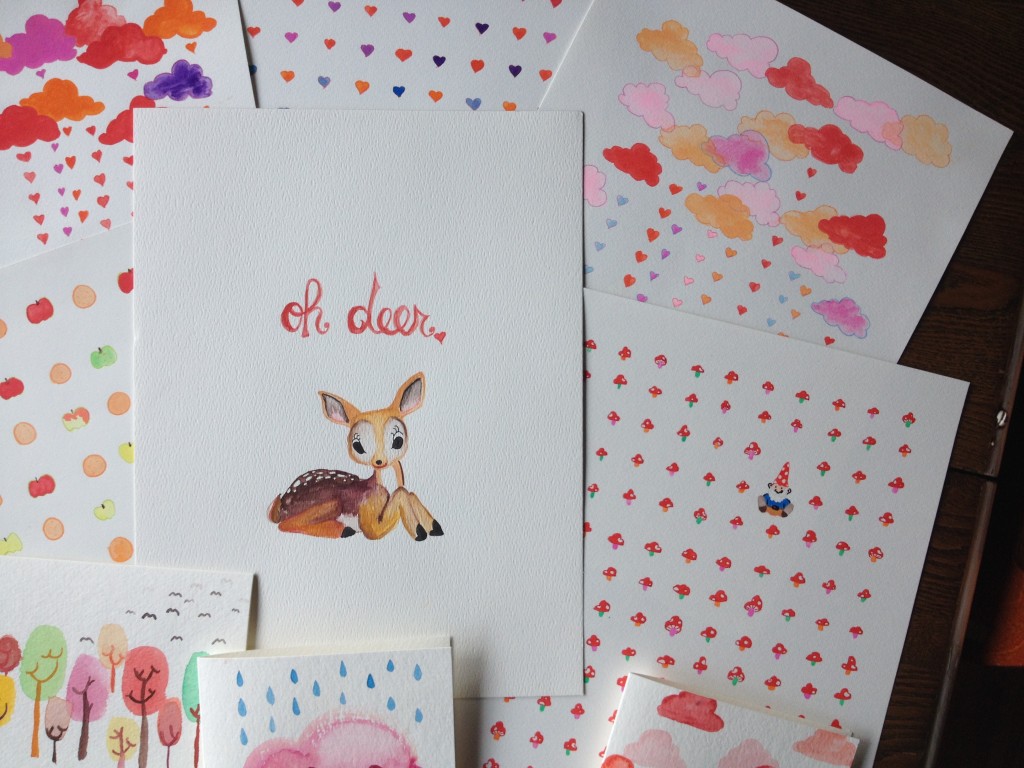
 When I started selling my watercolor paintings, I only sold originals. It soon became obvious to me that this was not a sustainable way to make money off my art. The watercolor cards and watercolor paintings I produced were well-loved and well-received, but in order to offer the art at a price that was fair for the time I put into each piece, the end product was too expensive for most people.
That’s when I started looking into printing services.
It is more difficult to create prints from watercolors than from other kinds of paintings because of the translucent nature of the watercolor. You cannot simply scan and print these images at a Kinkos while retaining the true nuanced nature of the original work. I understand that no print will ever be as good as the original, but there is a certain level of quality I expect from anything I sell. I refuse to put my name on a product that is subpar.
I explored dozens of businesses that offered reproduction services. The easiest services to find are professional reproduction services that will professionally reproduce your artwork for a hefty price. Sometimes these companies require that they manage the printing of the reproductions, as well. Oftentimes there are requirements on how many prints you create; a 100 print minimum is not uncommon. As a small-scale artist who was just getting started, these options did not suit my needs. I needed a DIY option.
Here is what I found.
1. MAKE A DIGITAL PHOTO
Scanning watercolors does not work. It just doesn’t.
You need a high quality digital image of your painting. The best way to make this is to take a photograph of your painting with a DSLR camera, in natural light. If you do not have access to reliable natural light and don’t want to wait for a sunny day, you can use a Soft Boxes to create the ideal lighting.
Once you pull the image from your DSLR, use Photoshop to touch up your image and make sure everything looks good. Depending on what kind of artwork you are printing, you may want to put the image on a transparent background at this point.
If you don’t have a fancy DSLR camera, or if you don’t know how to use photoshop, there’s no need for that to hold you back. I don’t have a DSLR or photoshop, so I pay a photographer friend to take photos of my artwork and transform them into digital files. $30-60/image is a fair going rate for this service.
2. HIRE A PRINTER
Once you have the digital image of your work, there are many good options for printing services. The one you choose depends on your personal needs:
SOCIETY 6 makes excellent prints. They also handle inventory management and distribution. All you have to do is upload your images, set up the products you want to offer, and let the sales roll in. The downside? They take a big cut out of your profits. Also, if you want to sell your products at a craft fair or on etsy, this is an expensive way to get them created.
PRO PHOTO LABS are a great option for getting excellent, professional quality prints at an affordable price. Most of these photo labs have affordable or free shipping and allow you to purchase small batches. They are limited, however, in what products are available. Printing on card stock or watercolor paper may not be an option. I tried printing my artwork on high quality photo paper; the images were crisp and amazing, but I received feedback from my customers that the photo paper felt cheap to the touch.
One thing to keep in mind when you use a photo lab: whenever possible, choose the matte finish. It makes your watercolor artwork look amazing.
Here is a helpful blog post that details the differences in online pro photo labs. I have experience with ProDPI and I love them for printing notecards…but they do not print to cardstock, and their watercolor prints are too expensive. WHCC is another great option, and they print to an array of cardstock options, including one that has a watercolor texture.
MOO is an excellent place to print stickers of your art. They do not make art prints (their largest print size is a 8 x 5.5 inch flyer) but they do print notecards and postcards.
BUY YOUR OWN PRINTER! If you want to invest in a printer for your studio, it is a larger initial investment, but you will gain a lot more control over your inventory management and the quality of your end products. Here are a couple good models that friends of mine use for their art prints:
• Canon PIXMA PRO-10 Color Professional Inkjet Photo Printer
• Canon PIXMA Pro9000 Mark II Inkjet Photo Printer (3295B002)
• Epson Stylus Photo R2000 Wireless Wide-Format Color Inkjet Printer (C11CB35201)
• Epson Stylus Photo R2880 Wide-Format Color Inkjet Printer (C11CA16201)
For any of these options, you will want to print on archival paper, like Canon Matte Photo Paper OR Epson Ultra Premium Presentation Paper .
3. SHIP IT
To protect your art prints, use plastic sleeves and stiff envelops for all of your shipments. Amazon has some options for these products. Here are additional retailers that offer custom sizes:
• Uline sells great stiff envelope mailers.
• Clear Bags sells custom flap-seal clear plastic bags.
Be sure to order supplies that are at least ¼ inch larger than your artwork. For instance, for a 8×10 inch art print, I would order 8.25×10.25 bags, and 8.5×10.5 envelopes.
As a side note: when I am mailing original artwork, I use the same supplies, but I add a thick piece of cardboard to the mailer to provide additional support. Another good option for mailing original artwork are these easy-fold mailers that Uline offers.
USPS has the best rates on shipping art prints, both within the US and internationally. You can also set up your Paypal account to print labels at home and mail them from your doorstep…all you need is a reliable scale to weigh your packages.
If you want tracking information on your packages, however, you will need to drop your packages off at the local post office. You can still print your labels at home, as it will save you some money, but you will need the post office attendant to scan each package so that the tracking information is in their system.
THAT’S A WRAP!
Let me know if you have any questions or if other methods work better for you. If you found this post useful, please share it with your friends and on social media! Feel free to use the image below. Thank you!
^_^ Erin


I have had this post bookmarked in Reeder and finally got a chance to read it. Thank you! This is a great post! Although I have a degree in photography as well as art, I wonder about the best way to reproduce my work. Your words reflect my thoughts. I knew it would come down to me setting up my DSLR for best results, however, I had no idea that watercolour does not scan well so thanks for saving me the time on trying out that one! Love that you added links to places to prolabs, printers and shipping materials.
I too, homeschool so it’s a slow process to accumulating work to sell, as you may know. For now, I am getting my head wrapped around what it will all entail when I am ready to go!
I just saw this comment. Thanks! I spent so much time banging my head against the wall, trying to figure out how to make prints, and I just really wanted to spare other people my grief!
I love being able to learn from others, as well as share the knowledge I have.
Building up work while homeschooling is definitely a challenge. I have to remind myself: I don’t do any of these things because I have to but because I want to. For me, some days, that can make all the difference.
<3 Erin